Supplies Needed:
- Pine cones
- Twigs
- Scrap paper
- Paint
- Scissors
- Hot glue gun and glue
Directions:
Step 1: Paint
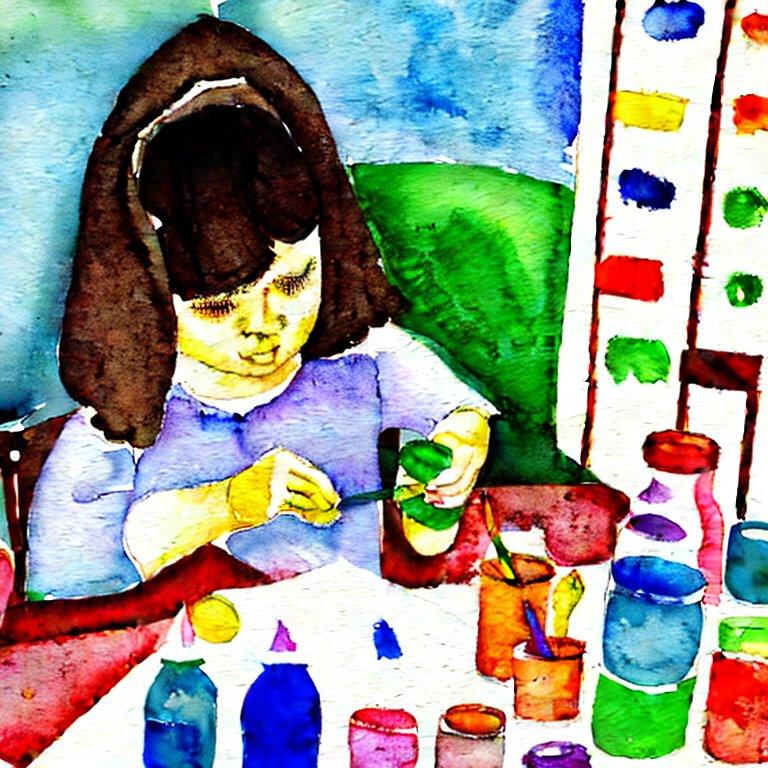
Once you’ve gathered your pine cones as well as twigs, they’ll need some paint. Before you paint the pine cones, blow on them really hard to loosen and remove any seeds that are left; any that remain will likely come out when you paint so you don’t have to be a perfectionist.
I found that the best way to paint the pine cones was to get a whole bunch of paint on a flat brush with long bristles and work it into all of the little spaces. It’s probably best to use an older brush, so you can cram it in there and wiggle it around without worry of bending bristles on your good brushes.

Break the twigs into pieces about 7 to 9 inches long, or about as long as you want the stems to be. (You may find that you want them longer or shorter depending on what you use for a vase!) Paint all of the twigs green.

Step 2: Leaves
Each flower will also need a couple of leaves, which are made out of paper.
First paint both sides of some scrap paper with green paint – whatever paper you have in your recycling bin will work. Once the paint is dry, use scissors to cut out leaf shapes. If you don’t feel comfortable cutting freehand, draw a leaf template and use it to trace and cut your leaves. (This could be done in advance to save time!)

Step 3: Assemble
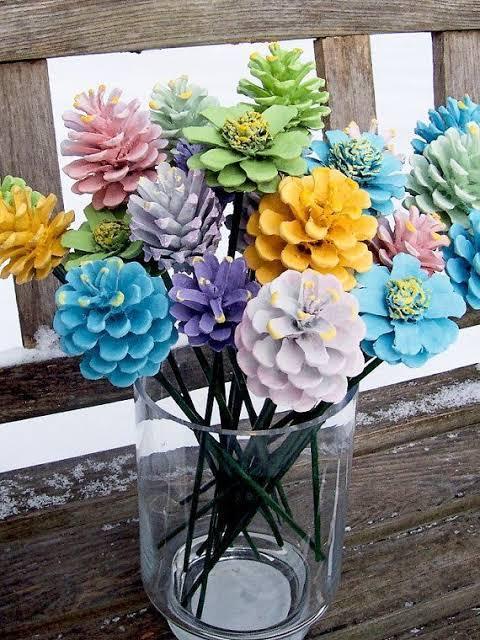
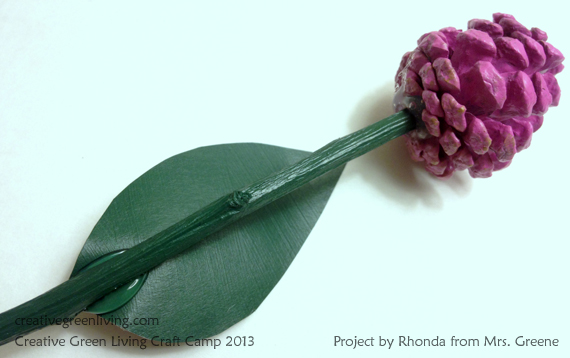
To assemble the flowers, use hot glue to attach a twig to the base of each pine cone.

Place a dab of hot glue on one end of a leaf and press it into place on the stem of the flower.
Step 4: Enjoy!
Stick your finished flowers in a vase and admire your handywork!

SOURCE: http://www.creativegreenliving.com/