A TREE FOREST IN PAPER PLACEMATS
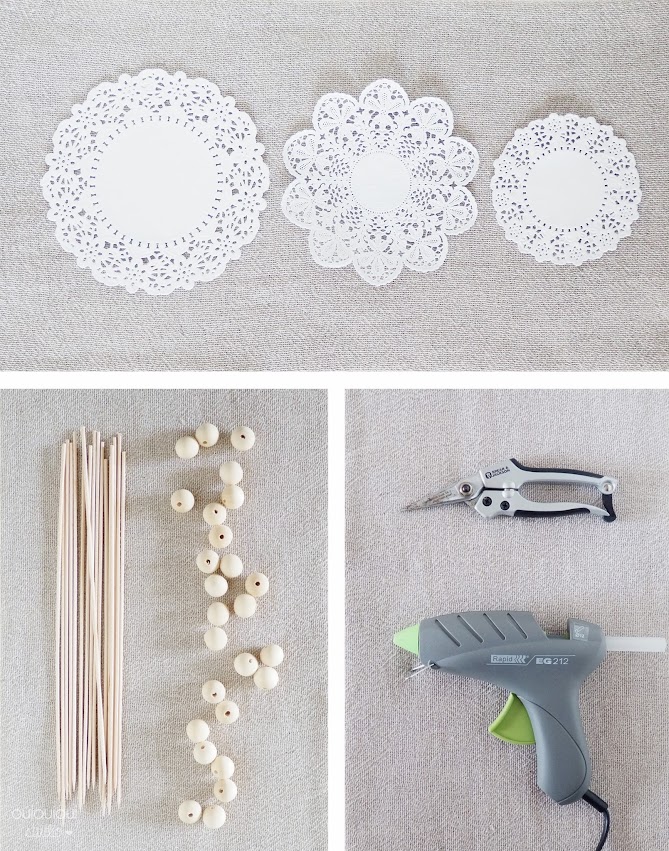
Hardware side, you will …
– Paper napkins of different diameters (here 17, 15 and 11cm)
– Large pikes skewers and 2.5cm diameter wood beads (the same as for the crib)
– A small pruning shears, a glue gun, scissors and a tube of glue (I forgot to put on the photo ^ _ ^)

First, cut out the doilies on the shelf according to the diagram above.
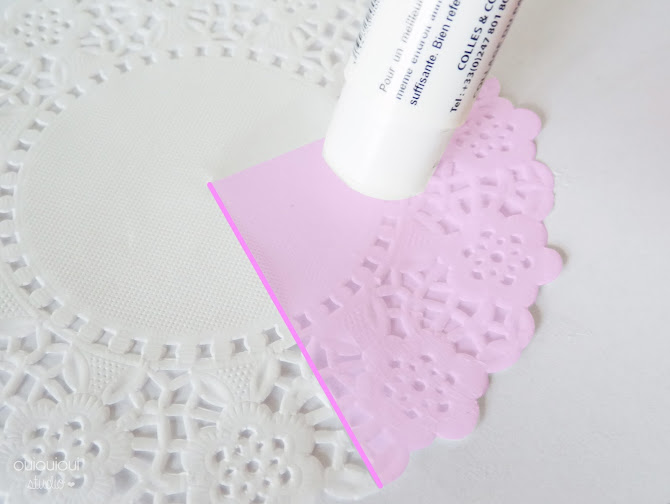
Glue about 1/4 of paper placemat as pictured.
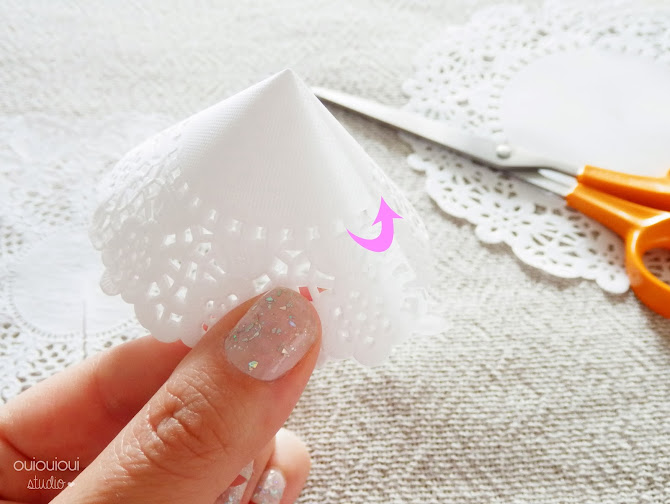
Then fold it on itself so as to form a paper cone.

Do the same with the other mats.

Slide the largest placemats on the toothpick.

Hold the mat with his hand and then thread a wooden bead.
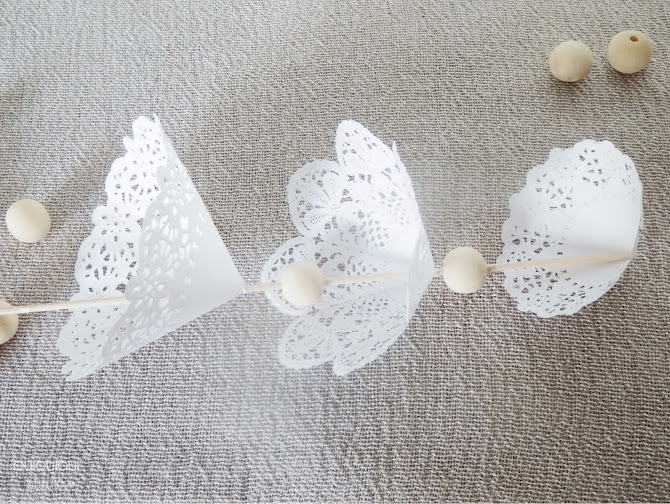
Then thread the way placemat, a wooden bead and doily.

Turn all on the table (pic down) and put on a final pearl after the largest placemat.

Block this last bead with a hot glue point.

Carefully turn and presto … a nice tree!
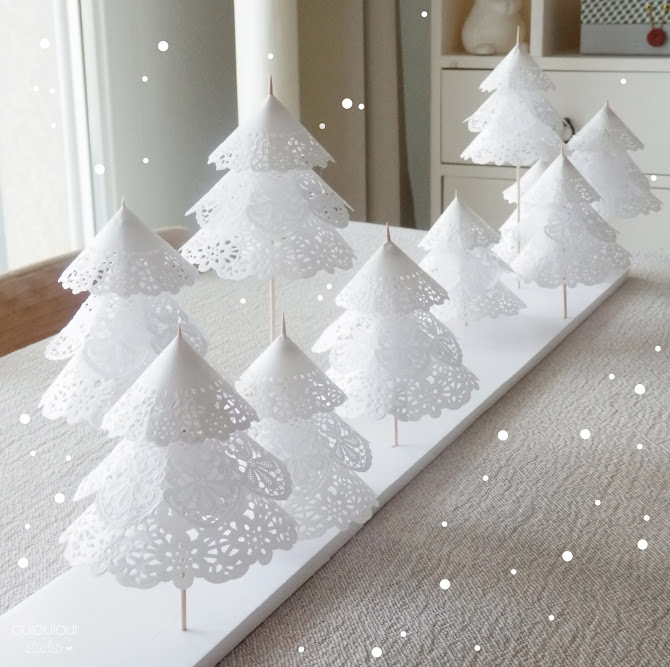
Make several and cut the toothpicks at different heights with the pruning shears.
It’ll just plant them on a slab of foam board to create your forest